WordPress updates without risk: a safe routine in 5 steps
Backup, staging, order of updates: how to keep your site and plugins stable.
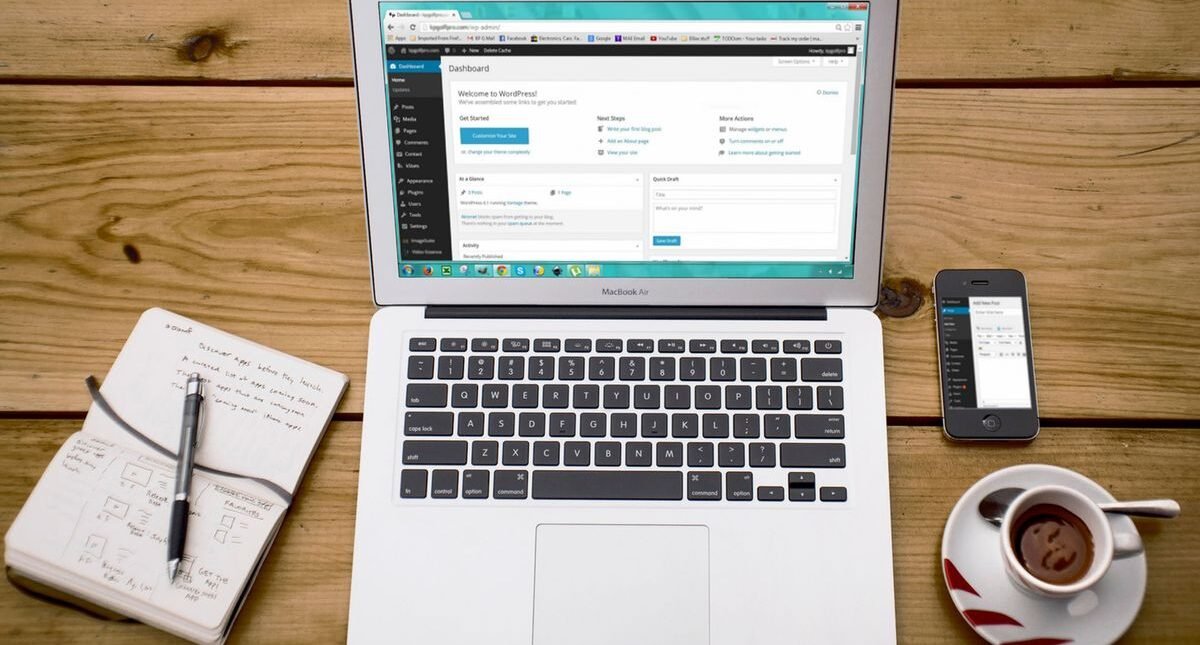
Protect your website from white screens and broken layouts: a battle-tested 5-step maintenance routine for upgrading WordPress core, plugins, and themes safely.

The Dreaded “Update Anxiety”
Seeing red update notification badges across your WordPress dashboard is stressful. Every site owner has experienced that heart-dropping moment when clicking “Update” triggers a fatal PHP error, a broken checkout page, or the dreaded “White Screen of Death”. However, avoiding updates leaves your site vulnerable to known security exploits. By adopting a disciplined, systematic 5-step routine, you can keep your site up to date without ever endangering your live traffic.
The 5-Step Safe Update Routine
Step 1: Execute a Complete On-Demand Backup
Never initiate any update without a fresh snapshot in hand. Scheduled nightly backups might be 18 hours old—risking lost comments, orders, or posts. Create a full on-demand backup covering both the MySQL database and the wp-content folder using tools like UpdraftPlus, BlogVault, or your hosting control panel.
Step 2: Clone to an Isolated Staging Environment
Production is not a testing ground. Most quality WordPress hosts provide one-click staging environments. Clone your live site to a staging URL (e.g., staging.yourdomain.com) where you can apply updates, test fatal incompatibilities, and verify plugin conflicts without affecting genuine visitors.
Step 3: Follow the Correct Update Sequence
Order of operations matters. Updating everything simultaneously via “Select All” obscures which specific component caused a crash. Follow this proven sequence:
- Minor Plugin Updates First: Update utility plugins one at a time.
- Major Feature Plugins Second: Update complex ecommerce (WooCommerce), page builders (Elementor), or membership plugins individually.
- Themes Third: Update your parent theme (ensure custom tweaks live in a Child Theme).
- WordPress Core Last: Upgrade the core WordPress platform only after all plugins confirm compatibility.
Step 4: Conduct Rigorous Visual & Functional QA
After running updates on staging, test critical user pathways. Don’t just look at the homepage:
- Submit a test contact form to verify email delivery.
- Test the checkout or lead capture flow in an incognito window.
- Inspect the browser console (F12) for new JavaScript syntax errors.
- Check mobile responsiveness on real devices.
Step 5: Push to Production During Low-Traffic Hours
Once staging passes all checks, push the changes to production or repeat the verified updates on your live site. Always schedule this during your site’s historical lowest traffic window (e.g., late Sunday evening), and verify site caching is purged immediately afterward.
Emergency Rollback Toolkit
Keep the WP Rollback plugin installed or have FTP/cPanel access ready. If an unforeseen conflict arises on production despite testing, WP Rollback allows you to instantly revert any plugin or theme to its previous stable release with a single click.
“A disciplined update protocol turns maintenance from a gamble into a predictable, stress-free routine.”
Conclusion
Security and stability do not have to be at odds. By investing 15 minutes into on-demand backups, staging verification, and systematic sequencing, your WordPress site remains secure, fast, and completely immune to surprise downtime.